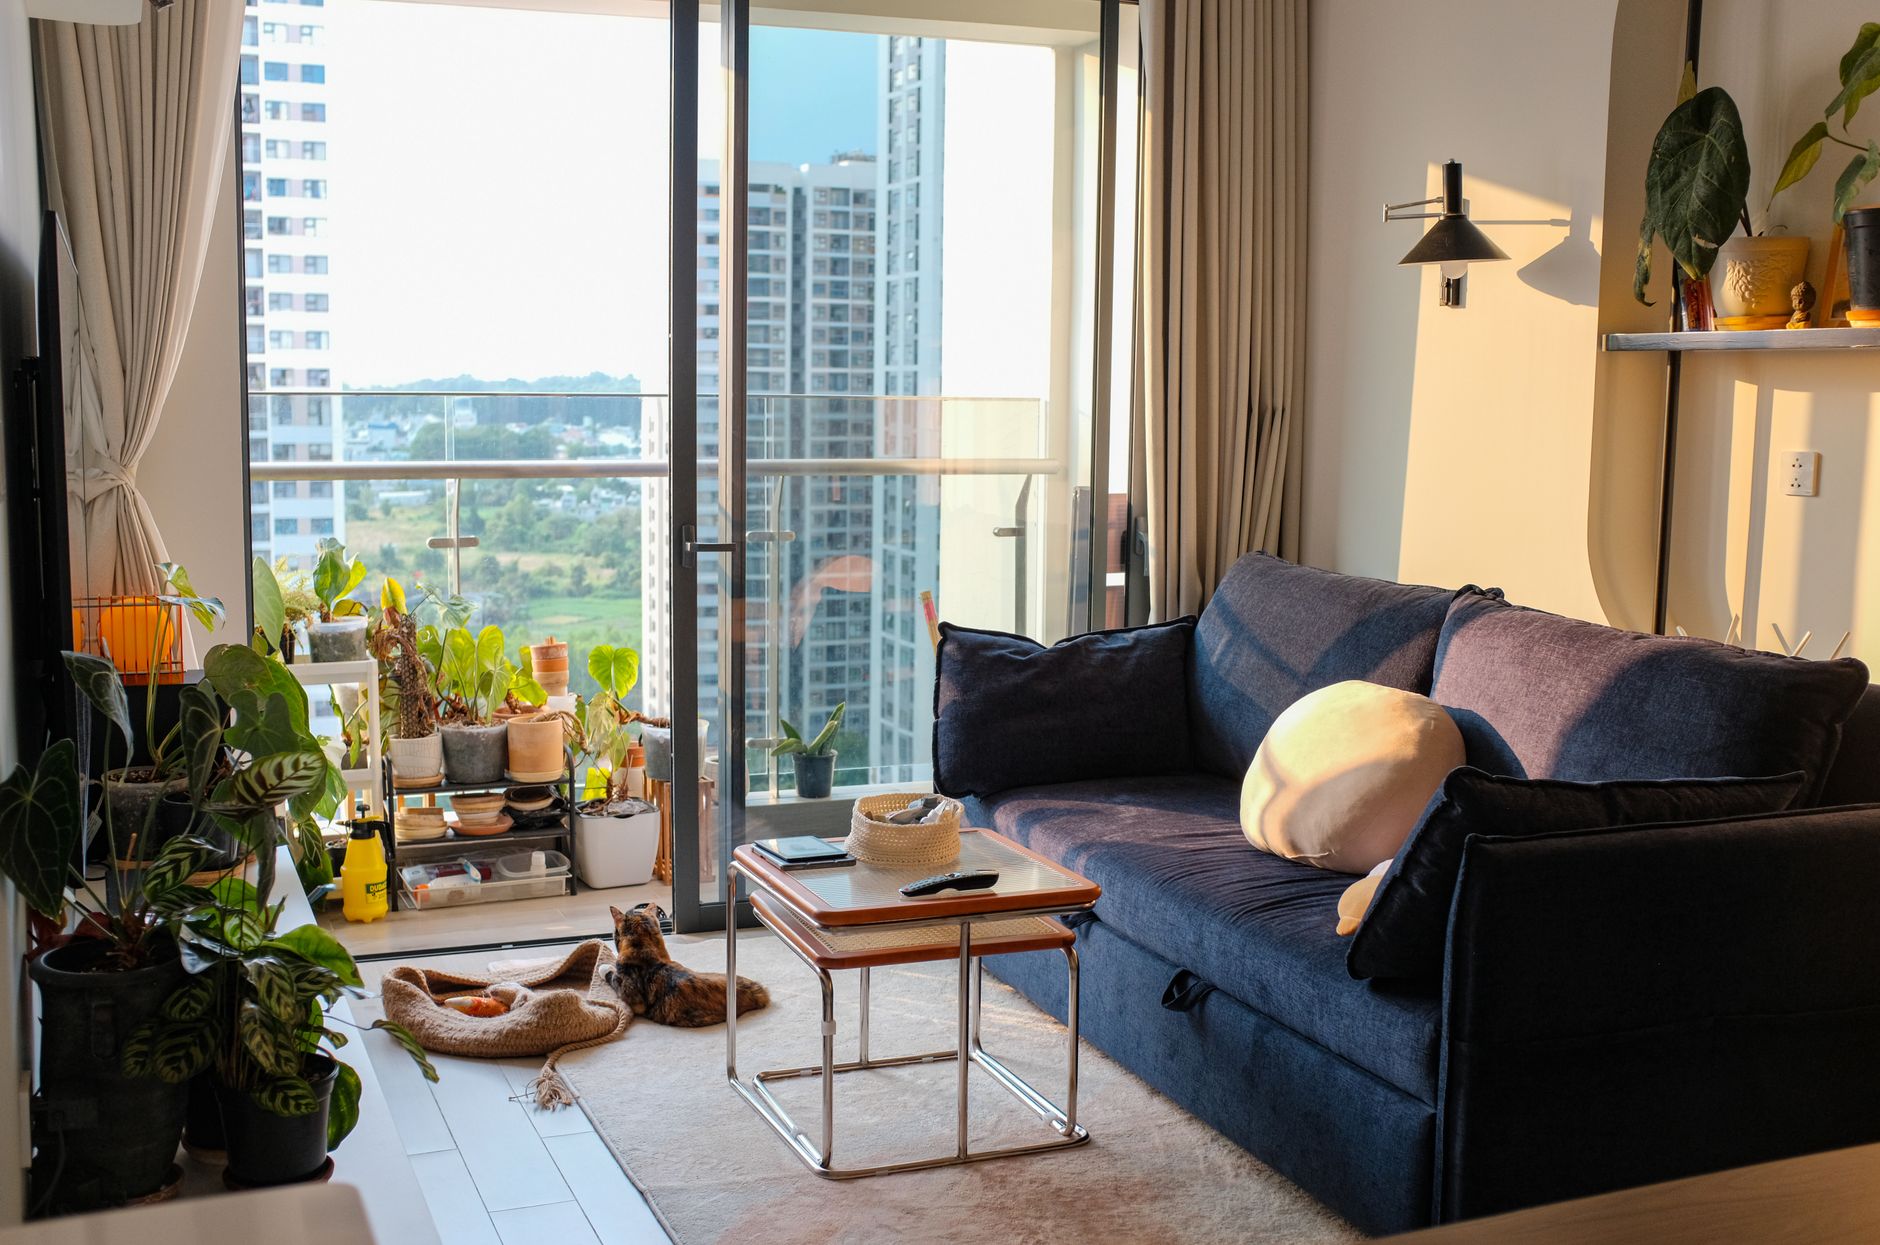
You can spend weeks picking the perfect heirloom tomato seeds and hunting for stylish planters, but if your balcony layout is an afterthought, your harvest will be a disappointment. I learned this the hard way my first year, cramming pots into every corner until my fire escape looked like a plant triage unit. The basil shaded the peppers, the trailing beans became a tripwire, and my single cherry tomato produced three measly fruits. The problem wasn’t my gardening skill; it was my complete lack of a plan. A smart layout is the single biggest factor in balcony gardening success, turning a cramped, windy space into a productive edible oasis. This guide will show you how to design yours in one focused morning, using a simple sun-mapping technique and three battle-tested layouts that actually work for renters.
7 min read
In This Article
Key Takeaways
- The 10-Minute Sun Map: Your Blueprint for Success
- Three Layouts for Real Balconies (Not Magazine Spreads)
- Mastering Your Microclimates for a Bigger Harvest
- The Fire Escape & Narrow Balcony Grid System
The 10-Minute Sun Map: Your Blueprint for Success
Before you buy a single plant, you need to understand your balcony’s light. Guessing leads to leggy, sun-starved seedlings and scorched lettuce. The solution is a sun map, and you can create one with a cardboard box, a timer, and ten minutes of observation. Here’s how it works: On a sunny morning, use a cardboard box or a piece of paper to trace the shadow line cast by your balcony railing or the building itself onto the floor. Mark the time. Repeat this process every two hours until the sun sets. I did this on my west-facing balcony and discovered a crucial detail: the “full sun” area was only about four feet deep and didn’t start until 1 PM. This simple exercise revealed exactly where my heat-loving peppers and tomatoes needed to go and where my shade-tolerant greens would thrive.

This isn’t just about counting hours of direct light; it’s about understanding light quality. The intense, hot afternoon sun on a west-facing balcony is different from the gentler morning sun on an east-facing one. A south-facing balcony gets the most consistent light, but the building next door might cast a shadow that cuts your growing season short. By mapping the light, you’re identifying microclimates. The spot right against the building wall will be warmer and more protected from wind, perfect for extending the season for basil or eggplants. The corner that gets a breeze might be ideal for keeping mildew off your squash plants.
The corner that gets a breeze might be ideal for keeping mildew off your squash plants.
Three Layouts for Real Balconies (Not Magazine Spreads)
Forget the sprawling, Pinterest-perfect gardens. These layouts are designed for the constraints we actually face: limited square footage, weight restrictions, and the need for everything to be movable for cleaning or landlord inspections. Each one maximizes vertical space, prioritizes plant happiness, and keeps your pathway clear.

The Coffee Corner Layout
This is the perfect starter layout if you want fresh herbs for your morning brew and a few salad greens, all within arm’s reach of your chair. The goal is to create a cozy, functional nook. Start with a small, 24-inch wide bistro set. To its right, place a tall, narrow planter—a 5-gallon fabric pot or a tall plastic nursery pot works perfectly—for a dwarf Meyer lemon tree or a compact bay laurel. On a small shelf or stool next to your chair, cluster a few 6-inch pots with your most-used herbs: rosemary, thyme, and mint (always in its own pot to prevent it from taking over). Use the railing for a long, shallow window box planted with ‘Tom Thumb’ lettuce and a few nasturtiums. This layout uses less than 15 square feet but delivers a huge return in flavor and ambiance.
The Privacy Screen Layout
If your balcony overlooks a parking lot or a neighbor’s window, this layout turns your veggies into a living screen. The key is using tall, fast-growing plants along the railing. Plant climbing beans like ‘Blue Lake’ or Malabar spinach in two or three deep 7-gallon containers spaced along the railing, and train them up a simple trellis made from bamboo poles and twine. In front of these, use slightly shorter plants like peppers or determinate tomatoes in 5-gallon buckets. Finally, at the very front, tuck in low-growing plants like oregano or dwarf marigolds to suppress weeds and add color. This creates a tiered effect that looks lush and blocks sightlines effectively by mid-summer. I used this method to gain privacy from a neighboring building, and the bean vines grew over six feet tall.
The Edible Gallery Wall Layout
For the ultimate space-saver, go vertical. This layout treats your wall or railing as a canvas. The foundation is a sturdy, wall-mounted system like the GreenStalk Vertical Planter or a series of pocket planters. Reserve the top tiers for sun-lovers: strawberries, compact chili peppers, and cascading herbs like oregano. The middle and lower tiers, which get less direct light, are perfect for leafy greens like kale, Swiss chard, and arugula. Complement this with a few hanging baskets for tumbling cherry tomatoes like ‘Tumbling Tom’. The beauty of this layout is that it keeps your floor completely clear, which is essential for fire escapes and narrow Juliet balconies. Just ensure your mounting system is secure; a fully watered vertical planter can weigh over 50 pounds.
Mastering Your Microclimates for a Bigger Harvest
A balcony is a collection of tiny, distinct growing zones. Your job is to match the right plant to the right microclimate. Wind is your biggest enemy; a constant breeze can stunt growth and dry out soil in hours. Create windbreaks by placing taller, sturdier plants (like your tomato cage) on the windward side. Clustering pots together also creates a more humid, protected environment. That warm spot against the building wall is prime real estate. That’s where you put your heat-hogs: tomatoes, eggplants, and basil. These plants need consistent warmth to set fruit, and that thermal mass from the wall can give them the extra boost they need. In contrast, the shadier, cooler spots are where your lettuce, spinach, and parsley will thank you by not bolting to seed at the first sign of heat.

Don’t forget about reflected heat. A light-colored wall or floor can intensify sunlight and heat, which can be great for peppers but disastrous for delicate greens. If you notice leaf scorch, a simple shade cloth rigged up for the hottest part of the afternoon can make all the difference. By thinking of your balcony not as one space but as several small gardens, you can push the limits of what you can grow.
By thinking of your balcony not as one space but as several small gardens, you can push the limits of what you can grow.
The Fire Escape & Narrow Balcony Grid System
Gardening on a fire escape requires a different mindset: safety and portability are non-negotiable. Your first step is to check your local fire code; many require a clear, unobstructed path. This doesn’t mean you can’t grow anything—it means you have to be strategic. Use a grid system. Imagine your space divided into squares. Your primary walking path must remain completely clear. Plants can only go in the squares immediately adjacent to the railing. Use lightweight, easy-to-move containers like fabric grow bags or small plastic pots. A hanging basket hooked securely to the outside of the railing is a great way to add growing space without cluttering the floor. I keep my fire escape plants in 3-gallon fabric pots, which I can easily lift and move for my building’s quarterly inspections. Always group them together when not in use to maximize the clear path.
Your Action Plan for This Weekend
Transforming your balcony from a clutter zone to a productive garden is simpler than it seems. Don’t try to do everything at once. Follow these three steps.
- Map Your Sun: This Saturday morning, grab a piece of cardboard and a marker. From 8 AM to 6 PM, mark the shadow lines every two hours. This 10-minute task is the most important investment you’ll make.
- Choose Your Layout: Based on your sun map and your goals, pick one of the three layouts: Coffee Corner for herbs, Privacy Screen for seclusion, or the Edible Gallery Wall for maximum yield in minimal space.
- Source Your Supplies: Buy your containers first. For most balcony vegetables, 5-gallon buckets (with drainage holes drilled) are the cheap, effective choice. Then, choose 2-3 vegetable varieties and 2-3 herbs that suit your layout and light conditions.
Start small. A well-planned container with a single thriving tomato plant will bring you more joy than a dozen struggling ones. Your balcony oasis is waiting.
Small changes, real momentum
Get practical guides and templates you’ll actually use — a few thoughtful emails a month.
Frequently Asked Questions
How much weight can a typical apartment balcony hold?
This is the most critical safety question. Most modern concrete balconies are designed to hold about 50 pounds per square foot (psf). However, older wooden decks or wrought-iron balconies may have much lower limits. A 5-gallon pot of wet soil can easily weigh 40-50 pounds. To stay safe, distribute weight evenly, avoid clustering all your heaviest pots in one area, and use lighter soil mixes with perlite or vermiculite. If you’re unsure, err on the side of caution and stick with smaller, lighter containers.
What if my balcony only gets 4 hours of sun?
You can still have a productive garden! You just need to choose the right plants. Forget full-sun vegetables like tomatoes and peppers. Instead, focus on leafy greens and herbs that thrive in partial shade. Lettuce, kale, arugula, spinach, cilantro, parsley, and mint will all perform well with only 4-6 hours of direct sunlight. You can also use reflective surfaces, like a white wall or a strategically placed mirror (securely fastened!), to bounce extra light onto your plants.
How do I protect my plants from strong winds?
Wind is a major challenge. The best defense is a good windbreak. Attach a transparent acrylic sheet or a shade cloth to your railing to filter the wind without blocking light. Cluster your pots together so they protect each other. Choose low-growing, sturdy plants like bush beans and determinate tomatoes over tall, vining varieties. Always secure trellises and tall plants to the railing or wall to prevent them from toppling over in a gust.
Grow Something Good
Seasonal how-tos and sustainable gardening you can actually use.