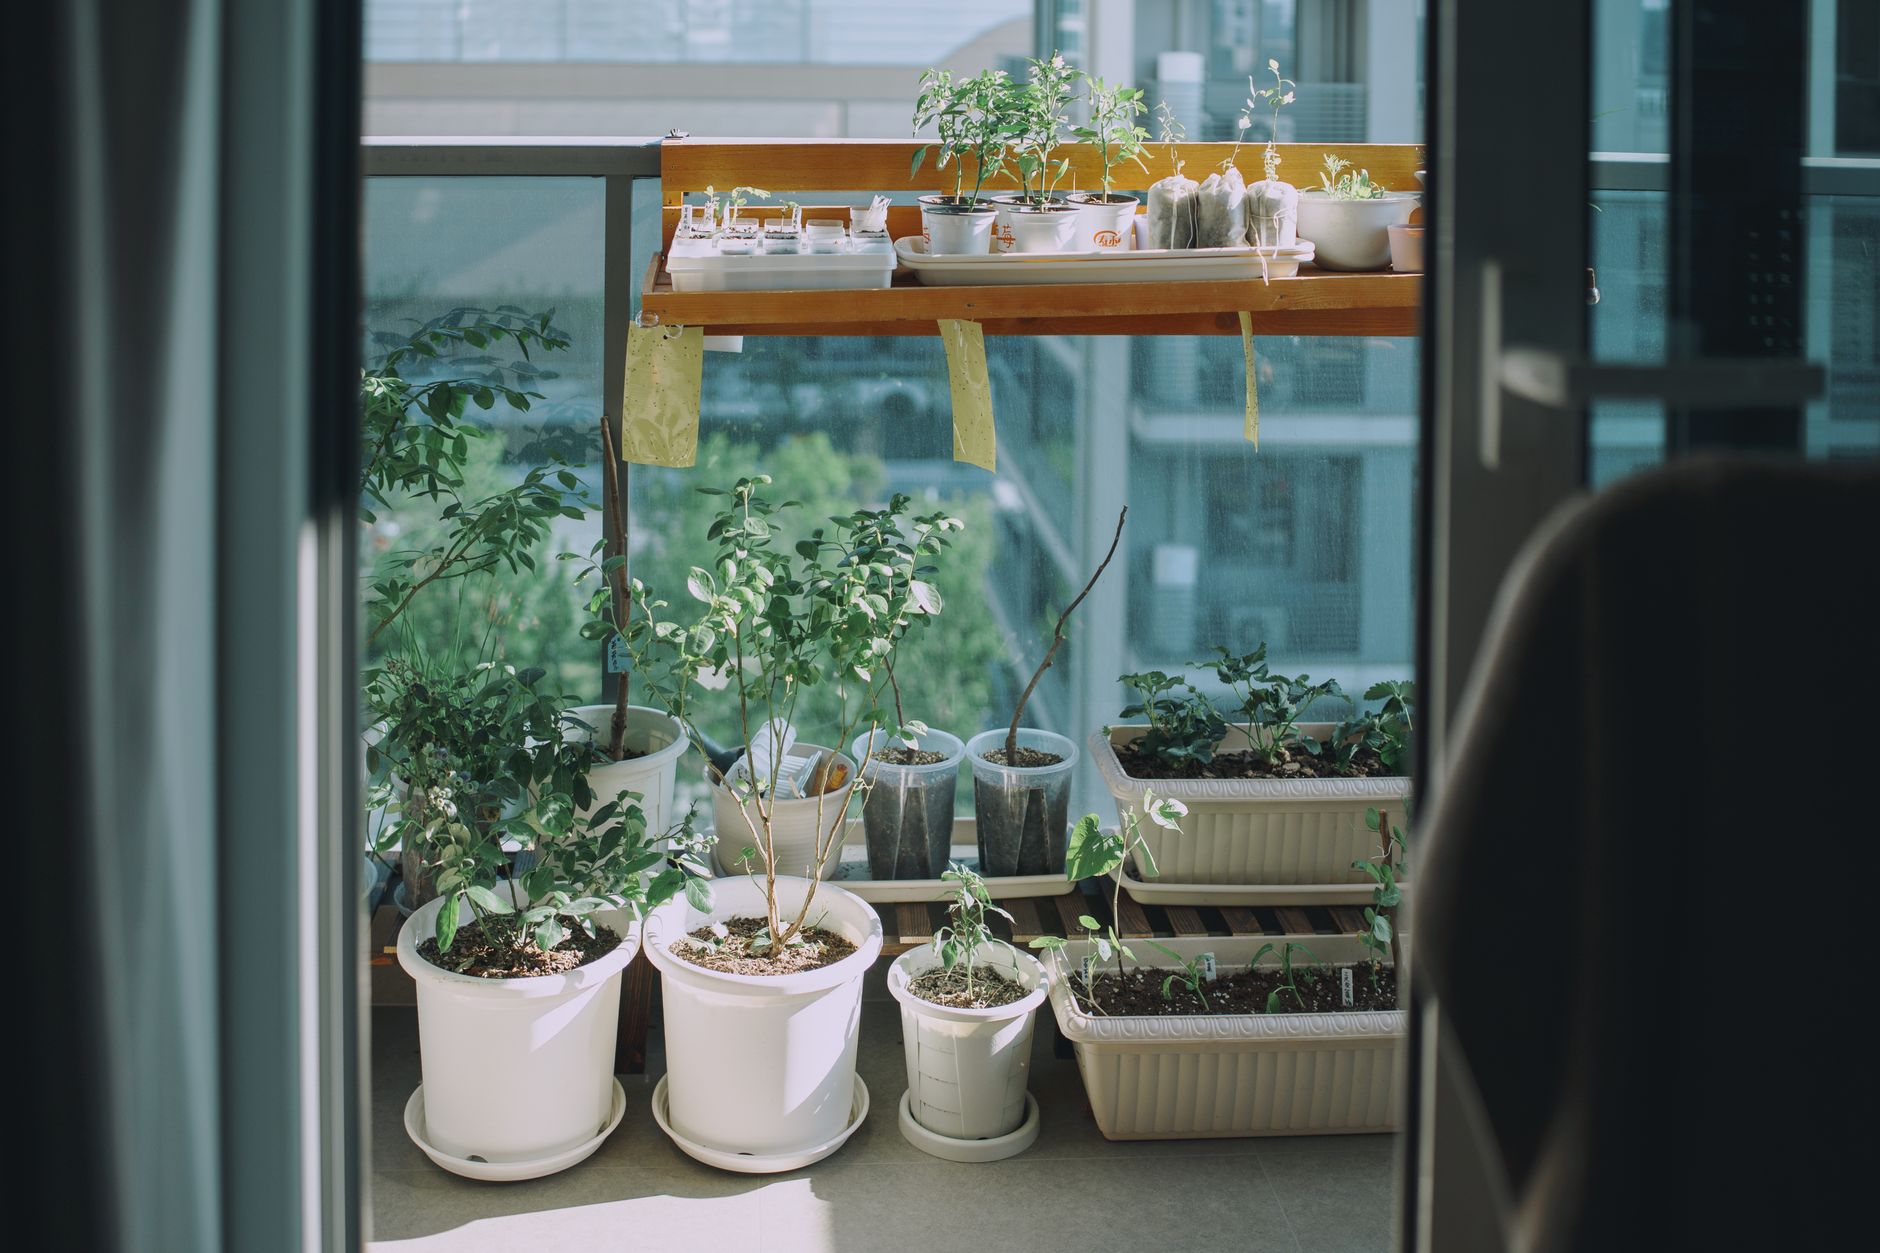
You’re staring at your empty balcony, a concrete slab that could be a salad bar, and you’re convinced you’ll kill anything green. I get it. I killed a cactus on my first apartment’s north-facing fire escape. But here’s the truth those glossy gardening magazines won’t tell you: setting up a productive balcony garden isn’t about having a green thumb. It’s a simple, seven-day logistical puzzle. You don’t need talent; you need a plan that accounts for your specific light, your landlord’s rules, and a budget that doesn’t require a second mortgage. This guide is that plan. I’ve made every mistake so you can skip straight to the harvest.
8 min read
In This Article
- Day 1: The Reality Check (No Shopping Allowed)
- Day 2: The Smart Shopping List (Hardware Store Run)
- Day 3: Pot Assembly & The Soil Secret
- Day 4: Planting Your Foolproof Trio
- Day 5: The Watering System & Staking
- Day 6: Feeding & First Check-Up
- Day 7: Observe, Adjust, and Plan Your Next Move
- Your Quick-Reference Balcony Garden Cheat Sheet
- Key Takeaways for Your First Week
- Frequently Asked Questions
Key Takeaways
- Day 1: The Reality Check (No Shopping Allowed)
- Day 2: The Smart Shopping List (Hardware Store Run)
- Day 3: Pot Assembly & The Soil Secret
- Day 4: Planting Your Foolproof Trio
Day 1: The Reality Check (No Shopping Allowed)
Put your wallet away. Today is for observation, not spending. Your balcony’s sun exposure is the single most important factor, and guessing wrong is the #1 reason balcony gardens fail. You need hard data. Here’s how to get it. For three separate days this week, go out to your balcony at 9 AM, 12 PM, and 3 PM. Draw a quick sketch of your space and shade in exactly where the sun is hitting. Is it full, dappled, or completely in shadow? Be brutally honest. A south-facing balcony might get 8+ hours of sun, perfect for tomatoes. An east-facing one gets gentle morning light, great for leafy greens. A north-facing or deeply shaded balcony gets less than 4 hours—this limits you to herbs like mint and parsley. I once bought a sun-loving jalapeeno plant for a balcony that only got 2 hours of afternoon light; it grew one pathetic, wrinkled pepper. Learn from my sun-denial.

Next, investigate your building’s rules. Check your lease for any clauses about balcony use. Are hanging planters allowed? Can you have pots on the floor? What about drainage? Some buildings prohibit anything that drips water onto the balcony below. A quick call to your landlord or property manager now can save a nasty fine later. Finally, test your railing. Give it a firm push. Is it wobbly? If it feels insubstantial, assume you cannot hang heavy planters from it. The weight of wet soil is astonishing—a 5-gallon pot can easily weigh over 40 pounds. Your safety and your neighbor’s safety below are non-negotiable.
Your safety and your neighbor’s safety below are non-negotiable.
Day 2: The Smart Shopping List (Hardware Store Run)
Now you can spend money, but only on the essentials. Print this list and take it to your local hardware or garden center. The goal is to buy versatile basics, not specialized gadgets.
- Containers: Buy plastic. I know terra cotta is prettier, but it dries out too fast on a windy balcony. Get three pots: one 5-gallon (19L) pot for your tomato, one 3-gallon (11L) pot for your beans, and one 12-inch (30cm) wide, shallow pot for your basil. Ensure every single pot has drainage holes. If it doesn’t, drill them yourself.
- Potting Mix: Do not use soil from the ground or “topsoil.” You need “Potting Mix” or “Container Mix.” It’s lighter and drains properly. A cheap, reliable bag like Miracle-Gro Potting Mix is a fine start. Buy one 2 cubic foot bag—it’ll fill your three pots.
- Fertilizer: Get an all-purpose, water-soluble fertilizer like Miracle-Gro All Purpose Plant Food or Jack’s Classic 20-20-20. A small container will last all season.
- Seeds or Seedlings: For absolute beginners, buy young plants (seedlings). Look for: one ‘Tiny Tim’ or ‘Terenzo’ cherry tomato (a bush variety), one ‘Blue Lake Bush’ bean plant, and one sweet basil plant. They’re in little plastic cell packs.
- A Watering Can with a Long Spout: This is crucial for targeting water at the soil, not the leaves.
What NOT to Buy (Save Your Cash)
Do not buy decorative saucers without drainage holes—they’ll drown your plants. Skip the expensive “balcony gardening kits.” Avoid tiny herb planters that are only 4 inches deep; roots need room. Do not purchase any chemical pesticides or fungicides yet; you likely won’t need them. And finally, resist the $80 self-watering planter. Master the basics with a $5 plastic pot first.
Day 3: Pot Assembly & The Soil Secret
It’s assembly day. First, if your pots don’t have drainage holes, use a 1/4-inch drill bit to make 5-6 holes in the bottom. Now, the single best tip for healthy plants: improve your store-bought potting mix. Dump about 3/4 of the bag into a large tub or a clean garbage bag. To this, mix in a few handfuls of perlite (for aeration) and a few handfuls of compost or worm castings (for slow-release nutrients). If you can’t find those, just use the potting mix straight—it’s fine. But this “recipe” makes a world of difference in root health.

Fill your pots with the mix, leaving about 2 inches of space at the top. Do not pack it down. Gently tap the pot on the ground to settle the mix. Now, water each empty pot thoroughly until water runs freely out the bottom. This “pre-moistening” is critical. Dry potting mix is hydrophobic—it repels water—so if you plant into dry mix and then water, the water will just run down the sides and your plant’s roots will stay bone dry. I learned this the hard way with a wilted basil plant that I was supposedly watering every day.
Day 4: Planting Your Foolproof Trio
Time to meet your new roommates. Gently remove each seedling from its cell pack by squeezing the sides and pushing up from the bottom. If the roots are a dense, tangled mat, gently tease them apart a little. Dig a hole in the center of your pre-moistened pot that’s slightly larger than the root ball.

- Cherry Tomato (5-gallon pot): Plant it deep. Seriously. Bury the stem up to the first set of true leaves (the ones that look like tomato leaves, not the tiny seed leaves). Tomatoes can grow roots all along their buried stems, making a sturdier, healthier plant. Pat the soil gently around it.
- Bush Beans (3-gallon pot): Plant it at the same depth it was in its cell. Beans don’t like being buried deep. One plant per pot is enough.
- Basil (12-inch pot): You can plant 2-3 basil seedlings together in the wider pot for a nice, bushy clump. Plant them at their original depth.
Water each plant gently but thoroughly at the base after planting to help the soil settle around the roots. Place them on your balcony according to your sun map from Day 1. The tomato needs the sunniest spot.
Day 5: The Watering System & Staking
Your plants are settled; now let’s set them up for success. First, watering. The most common beginner mistake is shallow, daily sprinkling. Instead, you want to water deeply but less frequently. Stick your finger into the soil up to your second knuckle. If it’s dry, water slowly until it runs out the drainage holes. This might be every other day in hot summer wind, or every 3-4 days in cooler weather. Your tomato will be the thirstiest.
Next, support. Even bush tomatoes need help. Take a 3-foot tall tomato cage or a few bamboo stakes and push them into the pot now, being careful of the roots. It’s easier to train the plant as it grows than to try to prop up a flopped-over mess later. For the beans, push a few short twigs or a small piece of trellis into the pot; bush beans will use them for light support.
For the beans, push a few short twigs or a small piece of trellis into the pot; bush beans will use them for light support.
Day 6: Feeding & First Check-Up
Your potting mix has nutrients, but they’ll be used up in about 4-6 weeks. Today, you start a feeding routine. Mix your water-soluble fertilizer at HALF the strength recommended on the label. A weak, weekly feed is far better than a strong, monthly blast that can burn roots. Water each plant with this fertilizer solution. Mark your calendar or set a phone reminder for “Feed Plants” every Saturday morning.
Now, do a pest patrol. Look under the leaves. Check the stems. You’re looking for tiny green aphids or little whiteflies. If you see a few, don’t panic. Blast them off with a strong jet of water from your spray bottle or squish them with your fingers. This is 90% of balcony pest control. Also, pinch off the very top set of leaves on your basil plant. This encourages it to grow bushy instead of tall and leggy.
Day 7: Observe, Adjust, and Plan Your Next Move
You’ve done it. Your garden is alive. Today, just watch. How do the leaves look at noon? Perky or slightly wilted? Is the tomato leaning toward the light? Give the pot a quarter turn so it grows evenly. This is also the day to think about your next act. Success in balcony gardening is about momentum. While these three are growing, what will you plant next? Based on your sun, pick one more thing:
- For 6+ hours of sun: A patio cucumber (‘Spacemaster’) in a 5-gallon pot.
- For 4-6 hours of sun: Swiss chard (‘Bright Lights’) in a 2-gallon pot.
- For less than 4 hours: More herbs—parsley or chives in a 10-inch pot.
Write it down. The confidence from keeping these first three alive will make your next trip to the garden center feel exciting, not overwhelming.
Your Quick-Reference Balcony Garden Cheat Sheet
| Crop | Pot Size | Sun Needed | Days to First Harvest* | Key Tip |
|---|---|---|---|---|
| Cherry Tomato (Bush) | 5 gal (19L) | 6-8+ hours | 55-65 from transplant | Bury stem deep; water consistently to prevent blossom end rot. |
| Bush Beans | 3 gal (11L) | 6+ hours | 50-60 from transplant | Pick beans young and often to keep plant producing. |
| Basil | 12″ wide pot (30cm) | 4-6+ hours | 30-40 from transplant | Pinch off flower buds to keep leaves tasty. |
*Times are approximate and depend on variety and weather.
Key Takeaways for Your First Week
If you remember nothing else, remember these three things. First, light dictates everything. Match your plant choices to your actual sun reality, not your garden dreams. Second, water deeply and infrequently, checking the soil with your finger. Consistent moisture is the key to avoiding 90% of problems. Third, start small and succeed. Three plants give you a manageable system to learn on. The goal of Week 1 isn’t a jungle; it’s three living, growing plants that you haven’t killed. That’s a massive victory. Celebrate it.
Small changes, real momentum
Get practical guides and templates you’ll actually use — a few thoughtful emails a month.
Frequently Asked Questions
What if I only have a shady balcony?
You still have great options, but you must adjust your expectations. You won’t grow tomatoes or peppers. Focus on leafy greens and herbs that tolerate partial shade. Lettuce, spinach, kale, Swiss chard, parsley, mint, and cilantro can all produce a harvest with 3-4 hours of morning sun or dappled light. Your yields will be smaller and growth slower, but you can absolutely grow food. The key is to avoid any plant that “fruits” like tomatoes, cucumbers, or squash.
How often do I really need to check on my plants?
In the peak of summer, you should be looking at them every day. It takes 60 seconds. Check the soil moisture, glance under leaves for bugs, and see if anything is wilting. The daily check isn’t always for watering (you might only water every 2-3 days), but for catching small problems before they become big ones. A pest infestation caught early is a quick spray of water away from being solved. One left for a week can devastate a plant.
My plant looks sad/wilted/yellow. Did I already kill it?
Probably not. Plants are resilient. Diagnose step-by-step. Is the soil sopping wet? You might be overwatering. Let it dry out. Is the soil bone dry and pulling away from the pot edges? You’re underwatering—give it a deep soak. Are only the lower leaves yellow? This could be a natural aging process or a need for fertilizer. Are leaves pale all over? It likely needs more sun. Don’t yank it out. Adjust one thing at a time (usually water or light) and give it 3-4 days to respond. Most plants bounce back.