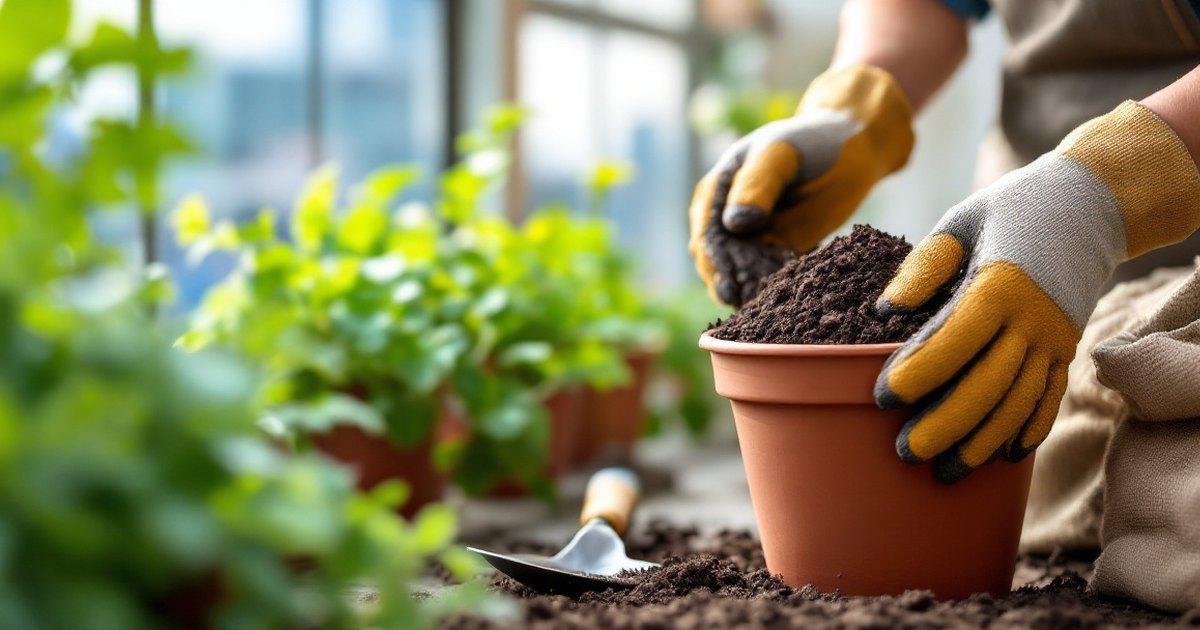
Why Your Balcony Soil Can’t Just Be Dirt From the Ground
You have your pots, your seeds, and a sunny spot on the balcony. You grab a bag of cheap topsoil or, worse, some dirt from the yard below, thinking all soil is basically the same. A few weeks later, your seedlings are yellow, stunted, or the pot feels like a solid brick that repels water. This is the most common mistake in a container vegetable garden. Soil in a pot is not like soil in the ground. It’s an entire world contained in a small space, and it has to provide everything your plants need for their whole life. If you start with the wrong foundation, you’ll be fighting an uphill battle against poor drainage, compaction, and nutrient deficiency all season long.
The fundamental problem with garden soil in containers is drainage and density. In the ground, earthworms tunnel, creating aeration, and water can drain freely downwards. In a pot, soil sits on a solid bottom. Garden soil, especially clay-based soil, packs down tightly, squeezing out the air pockets roots need to breathe. When you water, it turns into a dense, soggy mud that suffocates roots, leading to rot. Potting soil, or more accurately, potting mix, is engineered to be lightweight and porous. It’s designed to hold moisture and nutrients while allowing excess water to drain away quickly and letting oxygen reach the root zone. This is non-negotiable for healthy balcony veggies.
Think of your container as a mini-ecosystem. There are no worms to replenish nutrients, no deep subsoil to draw water from, and no vast network of microbes unless you provide it. Your potting mix is the entire universe for your plant’s roots. It must be structurally stable to support the plant, physically porous to hold air and water, and chemically balanced to provide nutrients. Using the wrong mix is like trying to raise a fish in a bowl of mud instead of water. Getting this right from the start is the single most important step you can take for a successful diy balcony vegetable garden.
The Short Answer: What Makes a Great Container Vegetable Garden Soil?
A great potting mix for container vegetables is lightweight, well-draining, moisture-retentive, and nutrient-rich. For most gardeners, the best starting point is a high-quality bagged potting mix labeled for containers. Look for mixes containing peat moss or coconut coir, perlite, and compost. For a more customized and often cheaper solution, you can make your own mix using a simple 1:1:1 recipe of peat moss/coco coir, perlite/vermiculite, and finished compost. This DIY approach gives you complete control over the ingredients and is often superior to generic bagged soils. Avoid any product labeled “topsoil” or “garden soil” for containers, as they are too dense.
The Anatomy of a Potting Mix: What Each Ingredient Does
To understand what to buy or mix, you need to know what each component brings to the table. A good potting mix is a recipe, and each ingredient has a specific job. No single ingredient does it all; they work together to create the ideal environment.
The Base: Peat Moss and Coconut Coir
The base ingredient is the bulk of the mix, responsible for holding water and providing some structure. For decades, peat moss has been the standard. It’s acidic, holds many times its weight in water, and is relatively inexpensive. However, peat is harvested from peat bogs, which are slow-to-renew ecosystems, raising environmental concerns. The main alternative is coconut coir, a byproduct of the coconut industry. Coir has a near-neutral pH, holds water similarly to peat, and is a renewable resource. It can sometimes contain high salts, so look for brands that specify they are washed. Both are excellent choices; coir is often preferred for its sustainability and easier rewetting (dried-out peat can become hydrophobic).
The Aeration: Perlite and Vermiculite
This is the non-negotiable ingredient for drainage and aeration. Perlite are those little white, popcorn-like pieces in potting soil. It’s superheated volcanic glass that is incredibly lightweight and porous. It doesn’t hold water but creates air pockets in the soil, preventing compaction and ensuring roots get oxygen. Vermiculite is a micaceous mineral that is also heated until it expands. It’s softer than perlite and has a key difference: it holds both water and nutrients on its sheet-like structure. For most vegetable containers, perlite is the go-to for ensuring the mix doesn’t get waterlogged. Vermiculite is useful for mixes for seed starting or for plants that prefer more consistent moisture.
The Nutrition: Compost
Compost is the life of the party. It’s decomposed organic matter teeming with beneficial microbes. It provides a slow-release source of essential nutrients and improves the overall structure of the mix, helping it hold moisture and nutrients more effectively. You can use your own homemade compost or buy bagged compost. Worm castings are a particularly potent form of compost, rich in nutrients and microbial life. Compost is not a complete fertilizer on its own, but it’s the cornerstone of a living soil that will feed your plants. It’s the ingredient that turns a sterile, soilless mix into a fertile growing medium.
Optional Additives: Lime, Fertilizers, and Wetting Agents
Many commercial mixes include additional ingredients. Since peat moss is acidic, most peat-based mixes add a small amount of garden lime to balance the pH to a level vegetables prefer (around 6.0-7.0). Some mixes come with a starter charge of synthetic or organic fertilizer to give seedlings a boost for the first few weeks. Others include wetting agents to help the mix absorb water more easily if it dries out completely. When making your own mix, you’ll need to add lime if you use peat moss, and you will need to establish a feeding schedule shortly after planting, as described in our guide on how to fertilize container vegetables.
Bagged Potting Mixes: How to Choose the Best One
Walking down the garden center aisle can be overwhelming. Dozens of bags promise amazing results. For container vegetable gardening, you need to ignore the marketing and read the ingredients. A mix labeled “Potting Mix” or “Container Mix” is what you want. Avoid “Garden Soil” or “Topsoil” as these are designed to be amended into native ground soil and will compact terribly in a pot.
Look at the ingredient list on the back of the bag. A high-quality mix will list specific components like sphagnum peat moss, coconut coir, perlite, compost, and/or pine bark. Be wary of mixes where the first ingredient is “composted forest products” or “organic matter” without specifics—this can be a sign of low-quality, poorly composted wood chips that can rob nitrogen from your plants as they decompose. The bag should feel light and fluffy, not dense and heavy. A 1.5 cubic foot bag is a standard size and should feel manageable, not like a bag of concrete.
Some reliable brands to look for include Pro Mix, which is a professional-grade soilless mix favored by many growers. Another excellent option is Espoma Organic Potting Mix, which contains their proprietary bio-tone microbes. For a more detailed, side-by-side comparison of popular brands, check out our dedicated article on the best bagged potting mixes. Remember, even the best bagged mix can be improved by mixing in an extra handful of perlite and a shovelful of compost specific to your needs.
The Ultimate DIY Potting Mix Recipe for Vegetables
Making your own mix is easier than you think and gives you the best possible results. You control the quality of every ingredient, and it’s almost always cheaper per volume than buying premium bagged mixes, especially if you have several pots to fill. This is the core of a truly customized diy balcony vegetable garden.
The classic, all-purpose recipe for container vegetables is the 1:1:1 mix. You can mix this by volume using a 5-gallon bucket as your measure. Combine one part (e.g., one bucket) of peat moss or coconut coir, one part perlite (for excellent drainage), and one part high-quality compost. If you are using peat moss, which is acidic, you must add garden lime to balance the pH. A good rule of thumb is 1/4 cup of dolomitic lime per 6 gallons (or a standard large wheelbarrow) of peat-based mix. Mix all the ingredients thoroughly in a large tub or on a tarp. The goal is an even distribution.
You can customize this base recipe. For plants that demand exceptional drainage, like herbs or peppers, increase the perlite to 1.5 parts. For moisture-loving plants like lettuce, you can substitute some of the perlite for vermiculite. To boost fertility and microbial life, you can replace up to half of the compost portion with worm castings. This DIY approach means you are not just filling a pot with dirt; you are engineering the perfect home for your plants. For a complete, step-by-step guide with measurements and sourcing tips, see our DIY potting mix recipe.
Potting Mix by Vegetable Type: Tailoring Your Soil
Not all vegetables have the same needs. While the all-purpose mix above works for about 80% of balcony crops, you can get even better results by making small adjustments for specific plant families. This is where your gardening moves from good to great.
Heavy Feeders: Tomatoes, Peppers, Eggplant
These plants are voracious eaters and need a rich, moisture-retentive mix. Start with the standard 1:1:1 recipe but ensure your compost component is very high quality. Consider using composted manure or a significant portion of worm castings (up to 25% of the total mix). They also benefit from a handful of granular, slow-release organic fertilizer mixed into the potting soil at planting time. This gives them a steady food supply to support months of flowering and fruiting.
Leafy Greens: Lettuce, Spinach, Kale
Greens are grown for their leaves, so they need a steady supply of nitrogen and consistent moisture to prevent them from bolting (going to seed early because of heat and drought stress). A standard mix is fine, but you can replace half of the perlite with vermiculite to help the soil hold water more evenly. These are shallow-rooted plants, so they don’t need a huge volume of soil, but they do appreciate it being consistently damp, not soggy.
Root Vegetables: Radishes, Carrots, Beets
The biggest challenge for roots in containers is soil compaction. If the mix is too dense, carrots will fork and radishes will be stunted. For these, prioritize drainage and a light, fluffy texture. Use the standard recipe but increase the perlite to 1.5 parts. It’s also crucial to use a pot that is deep enough—at least 12 inches deep for carrots and beets. Screen your compost to remove large chunks that could obstruct root growth.
Feeding Your Container Vegetables: The Schedule
Potting mix, even a rich DIY mix, is not a permanent food source. The nutrients in the compost will feed your plants for a few weeks, but they are quickly used up or washed out every time you water. Container gardening is like hydroponics with soil—you are the sole provider of water and food. This is why a feeding schedule is critical.
For the first 3-4 weeks after transplanting seedlings or after seeds germinate, your plants can live off the nutrients in the compost. After that, you need to start supplemental feeding. A simple and effective schedule is to use a balanced, water-soluble organic fertilizer every 1-2 weeks. Look for a product with an NPK ratio like 5-5-5 or 3-3-3. Fish emulsion and seaweed extract are excellent choices. Dilute the fertilizer to half the strength recommended on the label and apply it when you water. This “weakly, weekly” approach provides a constant, gentle supply of nutrients that is hard to overdo.
For heavy feeders like tomatoes and peppers, you can also add a slow-release fertilizer at the time of planting. Something like Osmocote Smart-Release Plant Food or an organic option like Espoma Plant-Tone provides a baseline of nutrition for 2-3 months, reducing the frequency of liquid feeding needed. For a detailed, month-by-month feeding plan, our article how to fertilize container vegetables breaks it down simply.
Common Potting Soil Problems and How to Fix Them
Even with the best mix, issues can pop up. Here’s how to diagnose and solve the most common container soil problems.
Water Sitting on Top of the Soil or Draining Too Slowly
This is a classic sign of compaction or a mix that has broken down and lost its aeration. The organic matter (peat, coir, compost) eventually decomposes, and the perlite can get crushed, reducing air space. Unfortunately, you can’t fix this mid-season. For the next season, remake your mix with fresh perlite. To prevent it, avoid stepping on the soil or packing it down too hard when planting. If the problem is severe, the plant may need to be repotted into fresh mix.
The Soil Has Pulled Away from the Sides of the Pot
This happens when peat-based mixes dry out completely and become hydrophobic (water-repelling). When you water, it just runs down the gap between the soil and the pot and out the drainage hole, without wetting the root ball. To fix it, place the entire pot in a basin or bucket filled with a few inches of water and let it soak from the bottom up for 30-60 minutes. The water will wick up through the soil and rehydrate it. Then, resume top-watering normally.
A White, Crusty Buildup on the Soil Surface
This is usually a buildup of soluble salts from fertilizer and tap water. It’s more common when you don’t get a lot of water running through the pot. To fix it, scrape off the crusty layer and discard it. Then, water the plant thoroughly until water runs freely out the bottom drainage hole. Do this a couple of times to help flush out the accumulated salts. Using rainwater or filtered water can help prevent this.
Fungus Gnats
These tiny black flies are a sign that the soil is staying too wet on the surface. They lay eggs in damp organic matter. The best control is to let the top inch of soil dry out completely between waterings. You can also use yellow sticky traps to catch the adults and apply Gnat Nix (a sand-like topping) or a biological control like Bacillus thuringiensis israelensis (BTI) to kill the larvae.
Can You Reuse Potting Soil From Last Season?
Yes, you can absolutely reuse potting soil, but you cannot use it as-is. Over a growing season, the nutrients are depleted, the structure breaks down, and it may harbor disease pathogens. Reusing it saves money and is more sustainable than sending it to the landfill.
At the end of the season, dump the old soil out of the pots onto a tarp. Break up any large clumps and remove the old roots and stems. From there, you need to recharge it. For every 4 gallons of old mix, mix in 1 gallon of fresh compost and 1 gallon of fresh perlite or vermiculite. This replenishes the organic matter and restores the aeration. You should also add a slow-release organic fertilizer to replace nutrients. The refreshed mix will be as good, if not better, than a new bagged mix because it already contains a established microbiome from the previous season.
It’s a good practice to avoid reusing soil if the previous plant died from a clear disease, like tomato blight. In that case, it’s safer to discard it or use it for non-edible ornamental plants. For a full tutorial on the process, see our article on how to reuse and refresh potting soil.
Key takeaways
- Never use garden soil or topsoil in containers; it compacts and suffocates roots. Always use a lightweight, well-draining potting mix.
- A high-quality mix contains three key components: a moisture-holding base (peat or coir), an aerator (perlite), and a nutrient source (compost).
- You can buy a reliable bagged mix or make a superior, customizable DIY mix using a simple 1:1:1 recipe of peat/coir, perlite, and compost.
- Container soil needs frequent feeding. Start fertilizing with a diluted liquid fertilizer 3-4 weeks after planting, as nutrients wash out with watering.
- You can reuse potting soil from year to year by refreshing it with new compost and perlite, making your balcony garden more economical and sustainable.
Frequently asked questions
What is the difference between potting soil and potting mix?
Technically, “potting soil” may contain actual soil (topsoil), while “potting mix” is a soilless blend of peat, perlite, and other ingredients. In practice, the terms are often used interchangeably, but for containers, you always want a soilless potting mix because it provides the drainage and aeration that potted plants need. Always check the ingredient list to be sure.
How often should I change the soil in my containers?
You don’t necessarily need to completely change the soil every year. Instead, you should refresh it. At the end of each growing season, remove the old plant roots, mix in about 25% new compost and some fresh perlite to fluff it up, and add a slow-release fertilizer. This recharges the soil for the next season. A complete change is only necessary if the previous plant had a serious soil-borne disease.
Can I use soil from my yard if I mix it with compost and perlite?
It’s not recommended. Even when amended, native soil is too dense for containers. It contains clay and silt particles that compact over time, destroying the aeration that container roots depend on. It can also introduce weeds, insects, and diseases to your confined balcony garden. Starting with a sterile, soilless mix is the safest and most reliable path to success.
Why are my plants yellowing even though I used a good potting mix?
Yellowing leaves, especially lower ones, are often a sign of nutrient deficiency, most commonly nitrogen. The nutrients in the initial potting mix only last a few weeks. If it’s been a month or more since planting, your plants are likely hungry. Begin a regular feeding schedule with a balanced liquid fertilizer. Yellowing can also be caused by overwatering, so check that the soil is drying out slightly between waterings.
Getting your soil right is the first and most critical step toward a harvest you can be proud of. It’s the foundation that everything else is built upon. For more guides on building and maintaining a productive balcony garden, from choosing the right containers to dealing with pests, explore our complete library of articles in the Soil and Feeding category.